
Quick Start
Environment Setup
System Requirements
| Component | Recommended configuration |
|---|---|
| Operating system | Windows 10 / Windows 11, 64-bit |
| CPU | Intel® Core™ i5/i7 |
| GPU | NVIDIA discrete graphics card, RTX 2060 or higher, with at least 8 GB of VRAM |
| Memory | At least 16 GB |
| Storage | SSD recommended |
Larger scenes require more capable hardware for a smooth experience.
Install Unreal Engine 5.6.1
- Download and install Epic Games Launcher from the Unreal Engine download page.
- Open the launcher and install Unreal Engine 5.6.1 under Unreal Engine → Library.
- Click Launch to open the Unreal Project Browser.
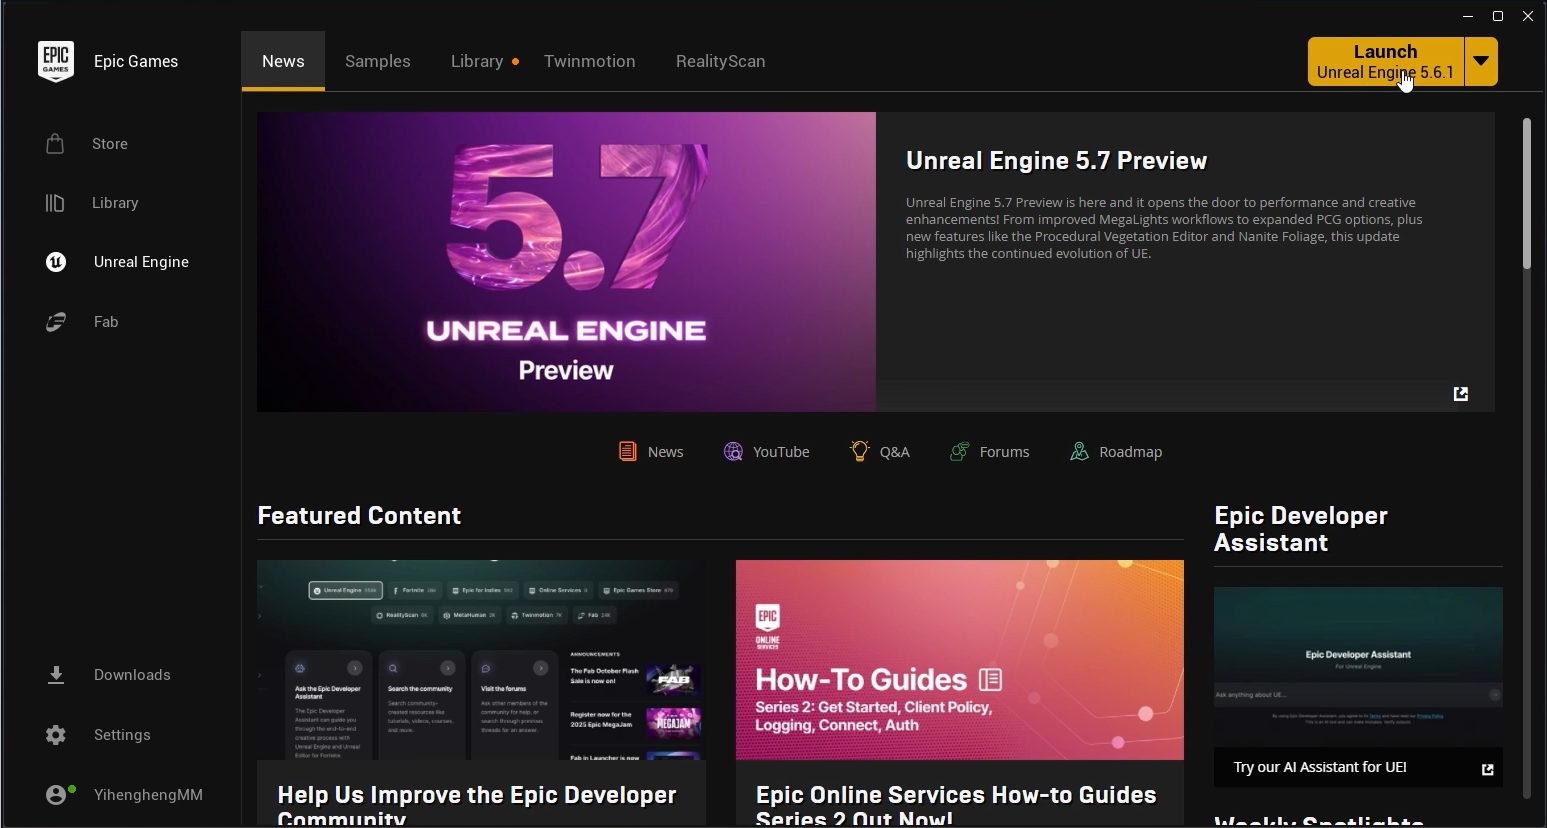 Figure: Launch Unreal Engine from Epic Games Launcher
Create a Project
- In the Unreal Project Browser, select Games → Blank.
- Set Target Platform to Desktop and Quality Preset to Maximum.
- Select the project implementation. Select Blueprint or C++ for editor viewing or the SDK's Export VR EXE feature. Select C++ for ordinary Windows project packaging.
- Set the project folder and name, preferably using ASCII characters, then click Create.
If Visual Studio 2022 is not installed when you select C++, click Install Visual Studio 2022. Install the required C++ development workloads and Windows SDK by following Epic Games: Setting Up Visual Studio. After installation, create the project again.
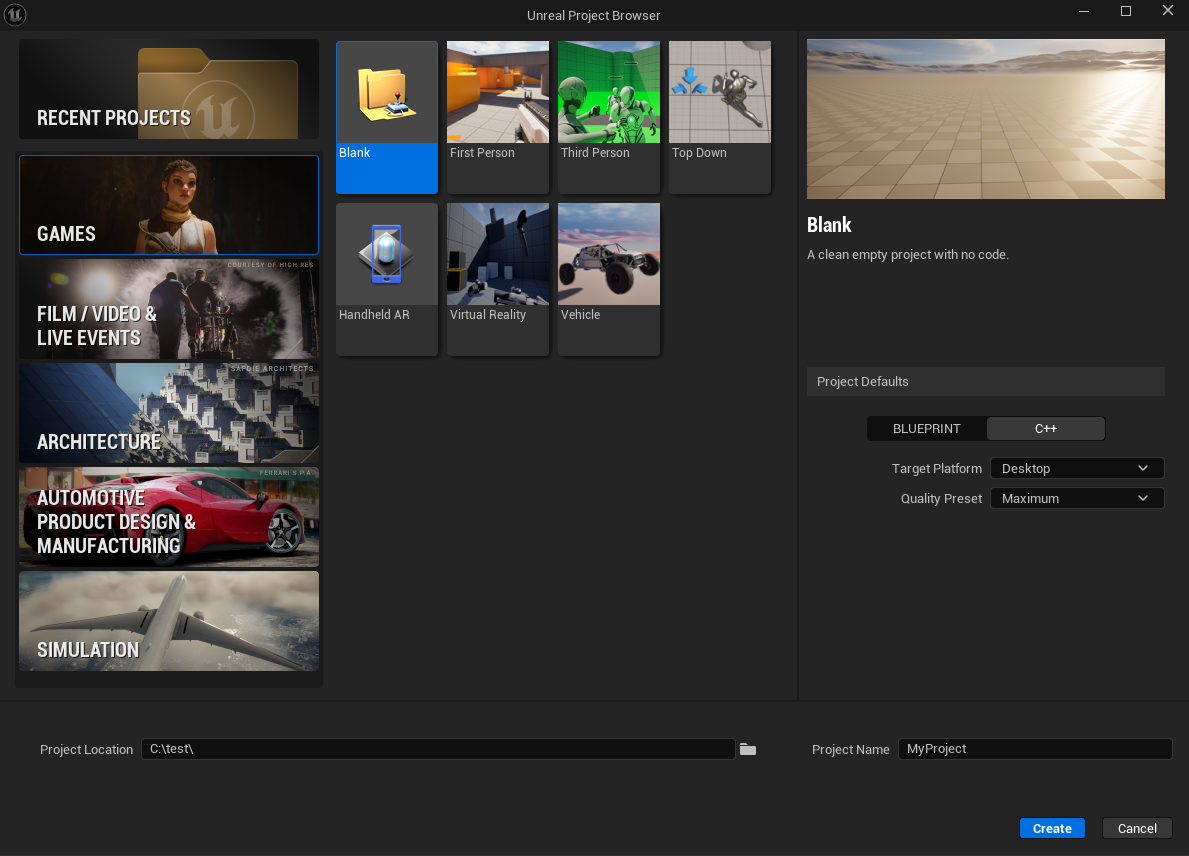 Figure: Create a project and configure its defaults
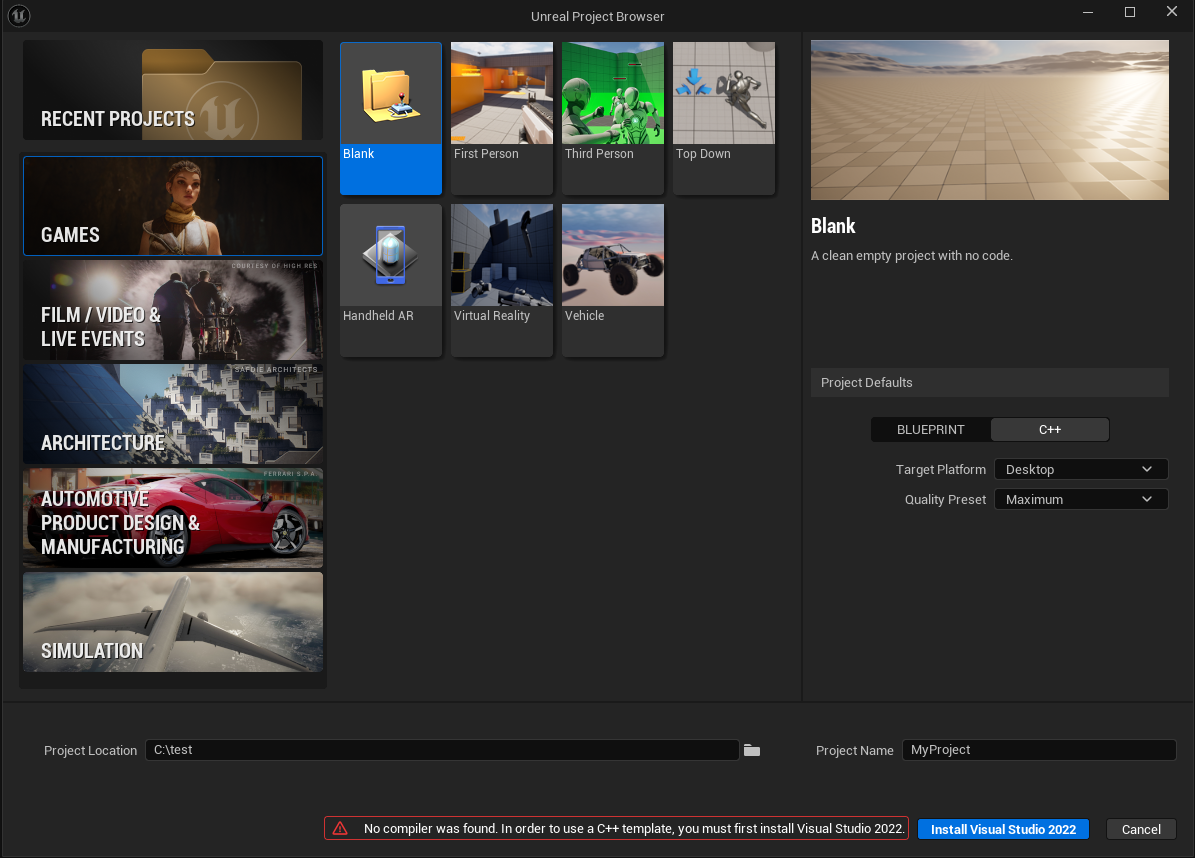 Figure: Visual Studio installation prompt for a C++ project
Integrate the Plugin
- Close the project. In the project folder, create a
Pluginsfolder alongside the.uprojectfile. - Copy the
LiSplatUnrealSDKfolder from the SDK package intoPlugins. The descriptor should be atProjectFolder/Plugins/LiSplatUnrealSDK/LiSplatUnrealSDK.uplugin; avoid an extra enclosing folder. - Open the project. The LiSplatUnreal icon appears on the main toolbar, and the tool panel loads automatically on the left.
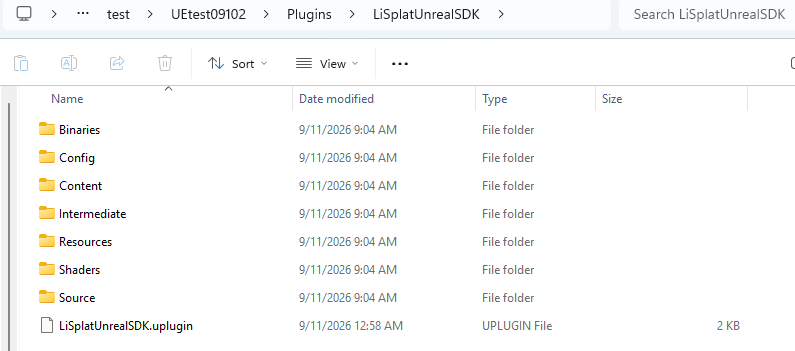 Figure: Copy the plugin into the Plugins folder
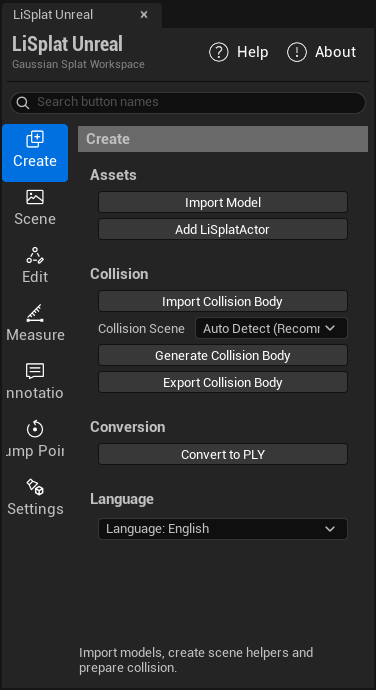 Figure: LiSplat Unreal SDK tool panel
Workflow
Import Data
- Open the project. On the Create page, click Import Model, select the file and click Open. Import progress is displayed in real time.
- Supported Gaussian splatting formats are LiSplat, XML, PLY, KSPLAT, SOG, SPLAT and SPZ. A
.lisplatfile must be exported from LiDAR360MLS V8.2 or later. - When loading finishes, the Content Browser opens automatically and selects the generated LiSplat Asset. The asset is named after the file.
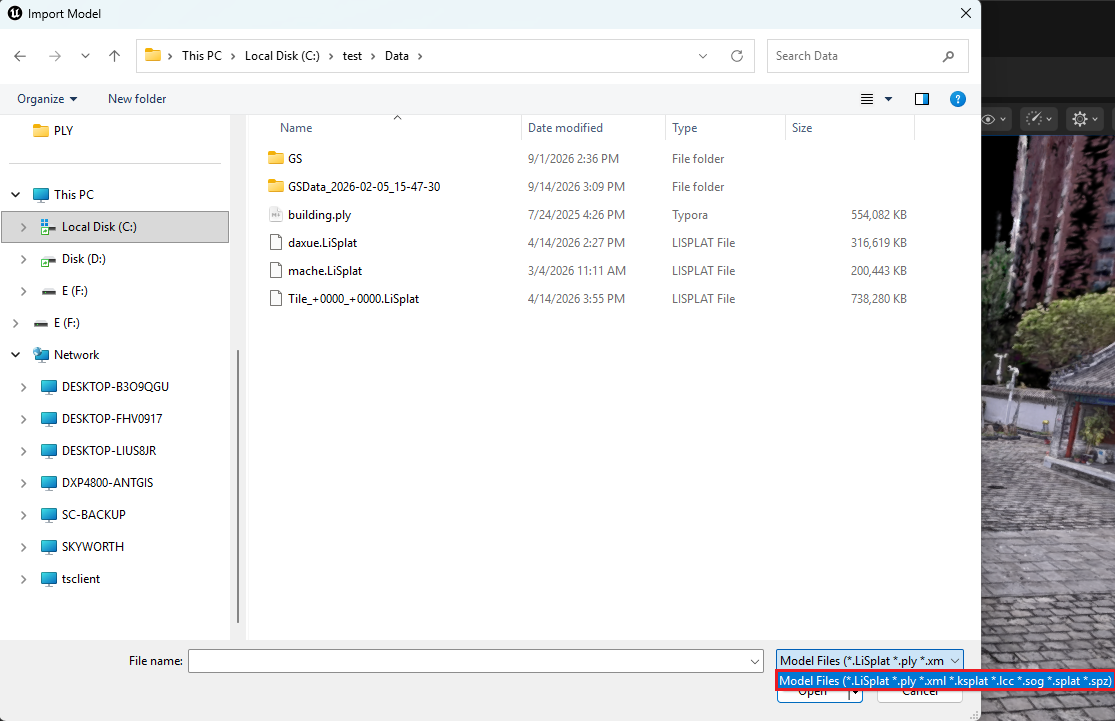 Figure: Import a model file
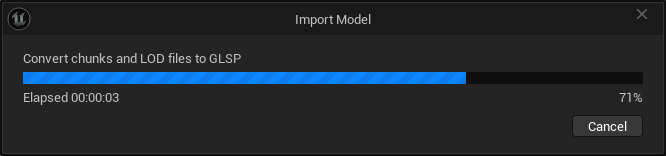 Figure: Import progress
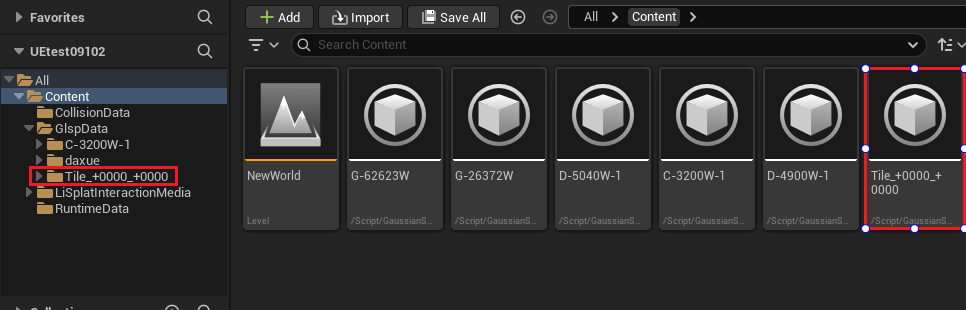 Figure: Data asset generated after import
Add a LiSplat Actor
- Enable Realtime in the editor viewport so that the display updates as you work.
- On the Create page, click Add LiSplat Actor. A LiSplatActor appears in the Outliner.
- Select the LiSplatActor and choose the imported data under Details → Splat Asset. The data is centered in a top view by default.
- Select Front, Back, Left, Right, Top or Bottom under Orthographic View. The viewport refreshes when the view changes.
Use the mouse and keyboard to explore the scene in the editor viewport. See Navigation and Transforms for controls.
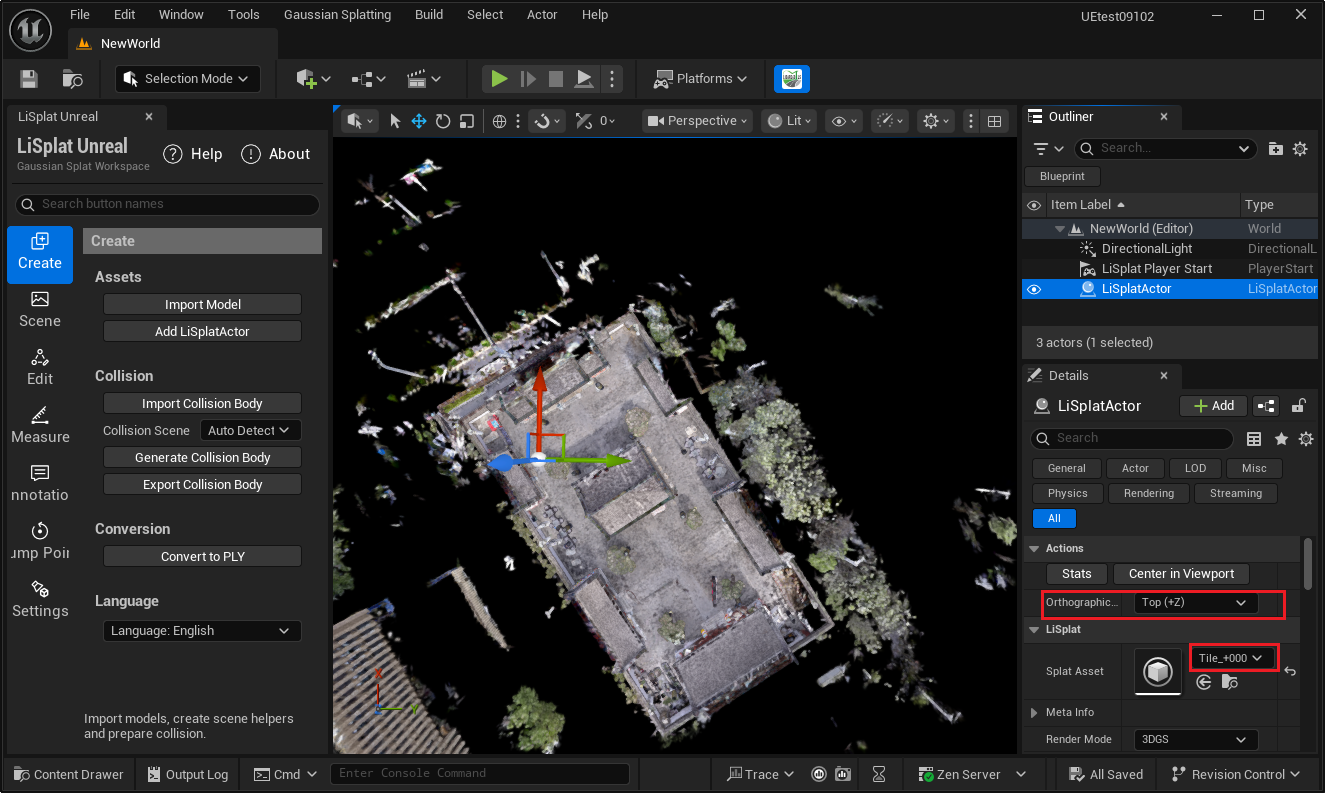 Figure: Add a LiSplat Actor and assign its data
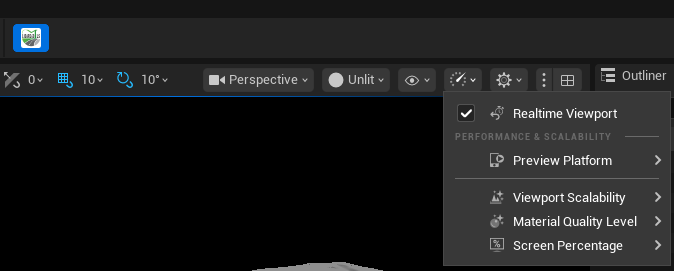 Figure: Realtime in the editor viewport
Configure Rendering
In LiSplatActor → Details → Render Mode, select 3DGS or Point Cloud. The default is 3DGS. The viewport renders the data in the selected mode.
Select UnLit or Lit under Details → Light Mode or on the Settings page. UnLit uses the data's original colors. Lit requires a light Actor in the scene; adjust the lighting effect as needed.
For opacity, splat size, color, anti-aliasing and lighting, see Rendering Adjustments.
If the image is blurry or movement stutters, see Performance Optimization.
Run the Scene
- On the Scene page, click Player Start to create a spawn point, then adjust its position and orientation.
- Click Play
 on the main toolbar, then click inside the running viewport to navigate with the mouse and keyboard.
- Press Shift + F1 to show the mouse cursor. Press Esc or click Stop to end the session.
See Navigation and Transforms for controls. To create a standalone application, continue to Project Packaging.