
Rendering Adjustments
Select the LiSplatActor and adjust rendering parameters in Details or on the tool panel's Settings page. Check the result, then save the level.
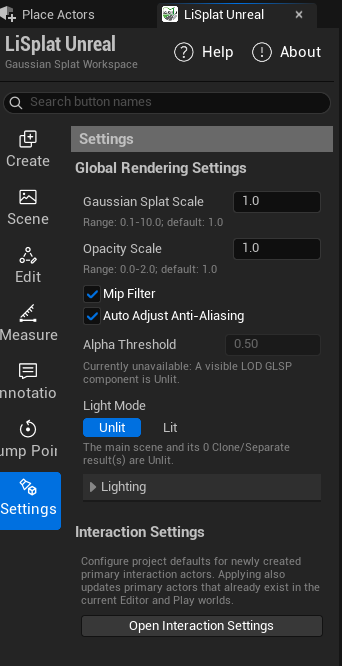 Figure: Rendering settings panel
Rendering
Render Mode
Select 3DGS or Point Cloud under Details → Render Mode. The default is 3DGS. The viewport updates to show the selected rendering mode.
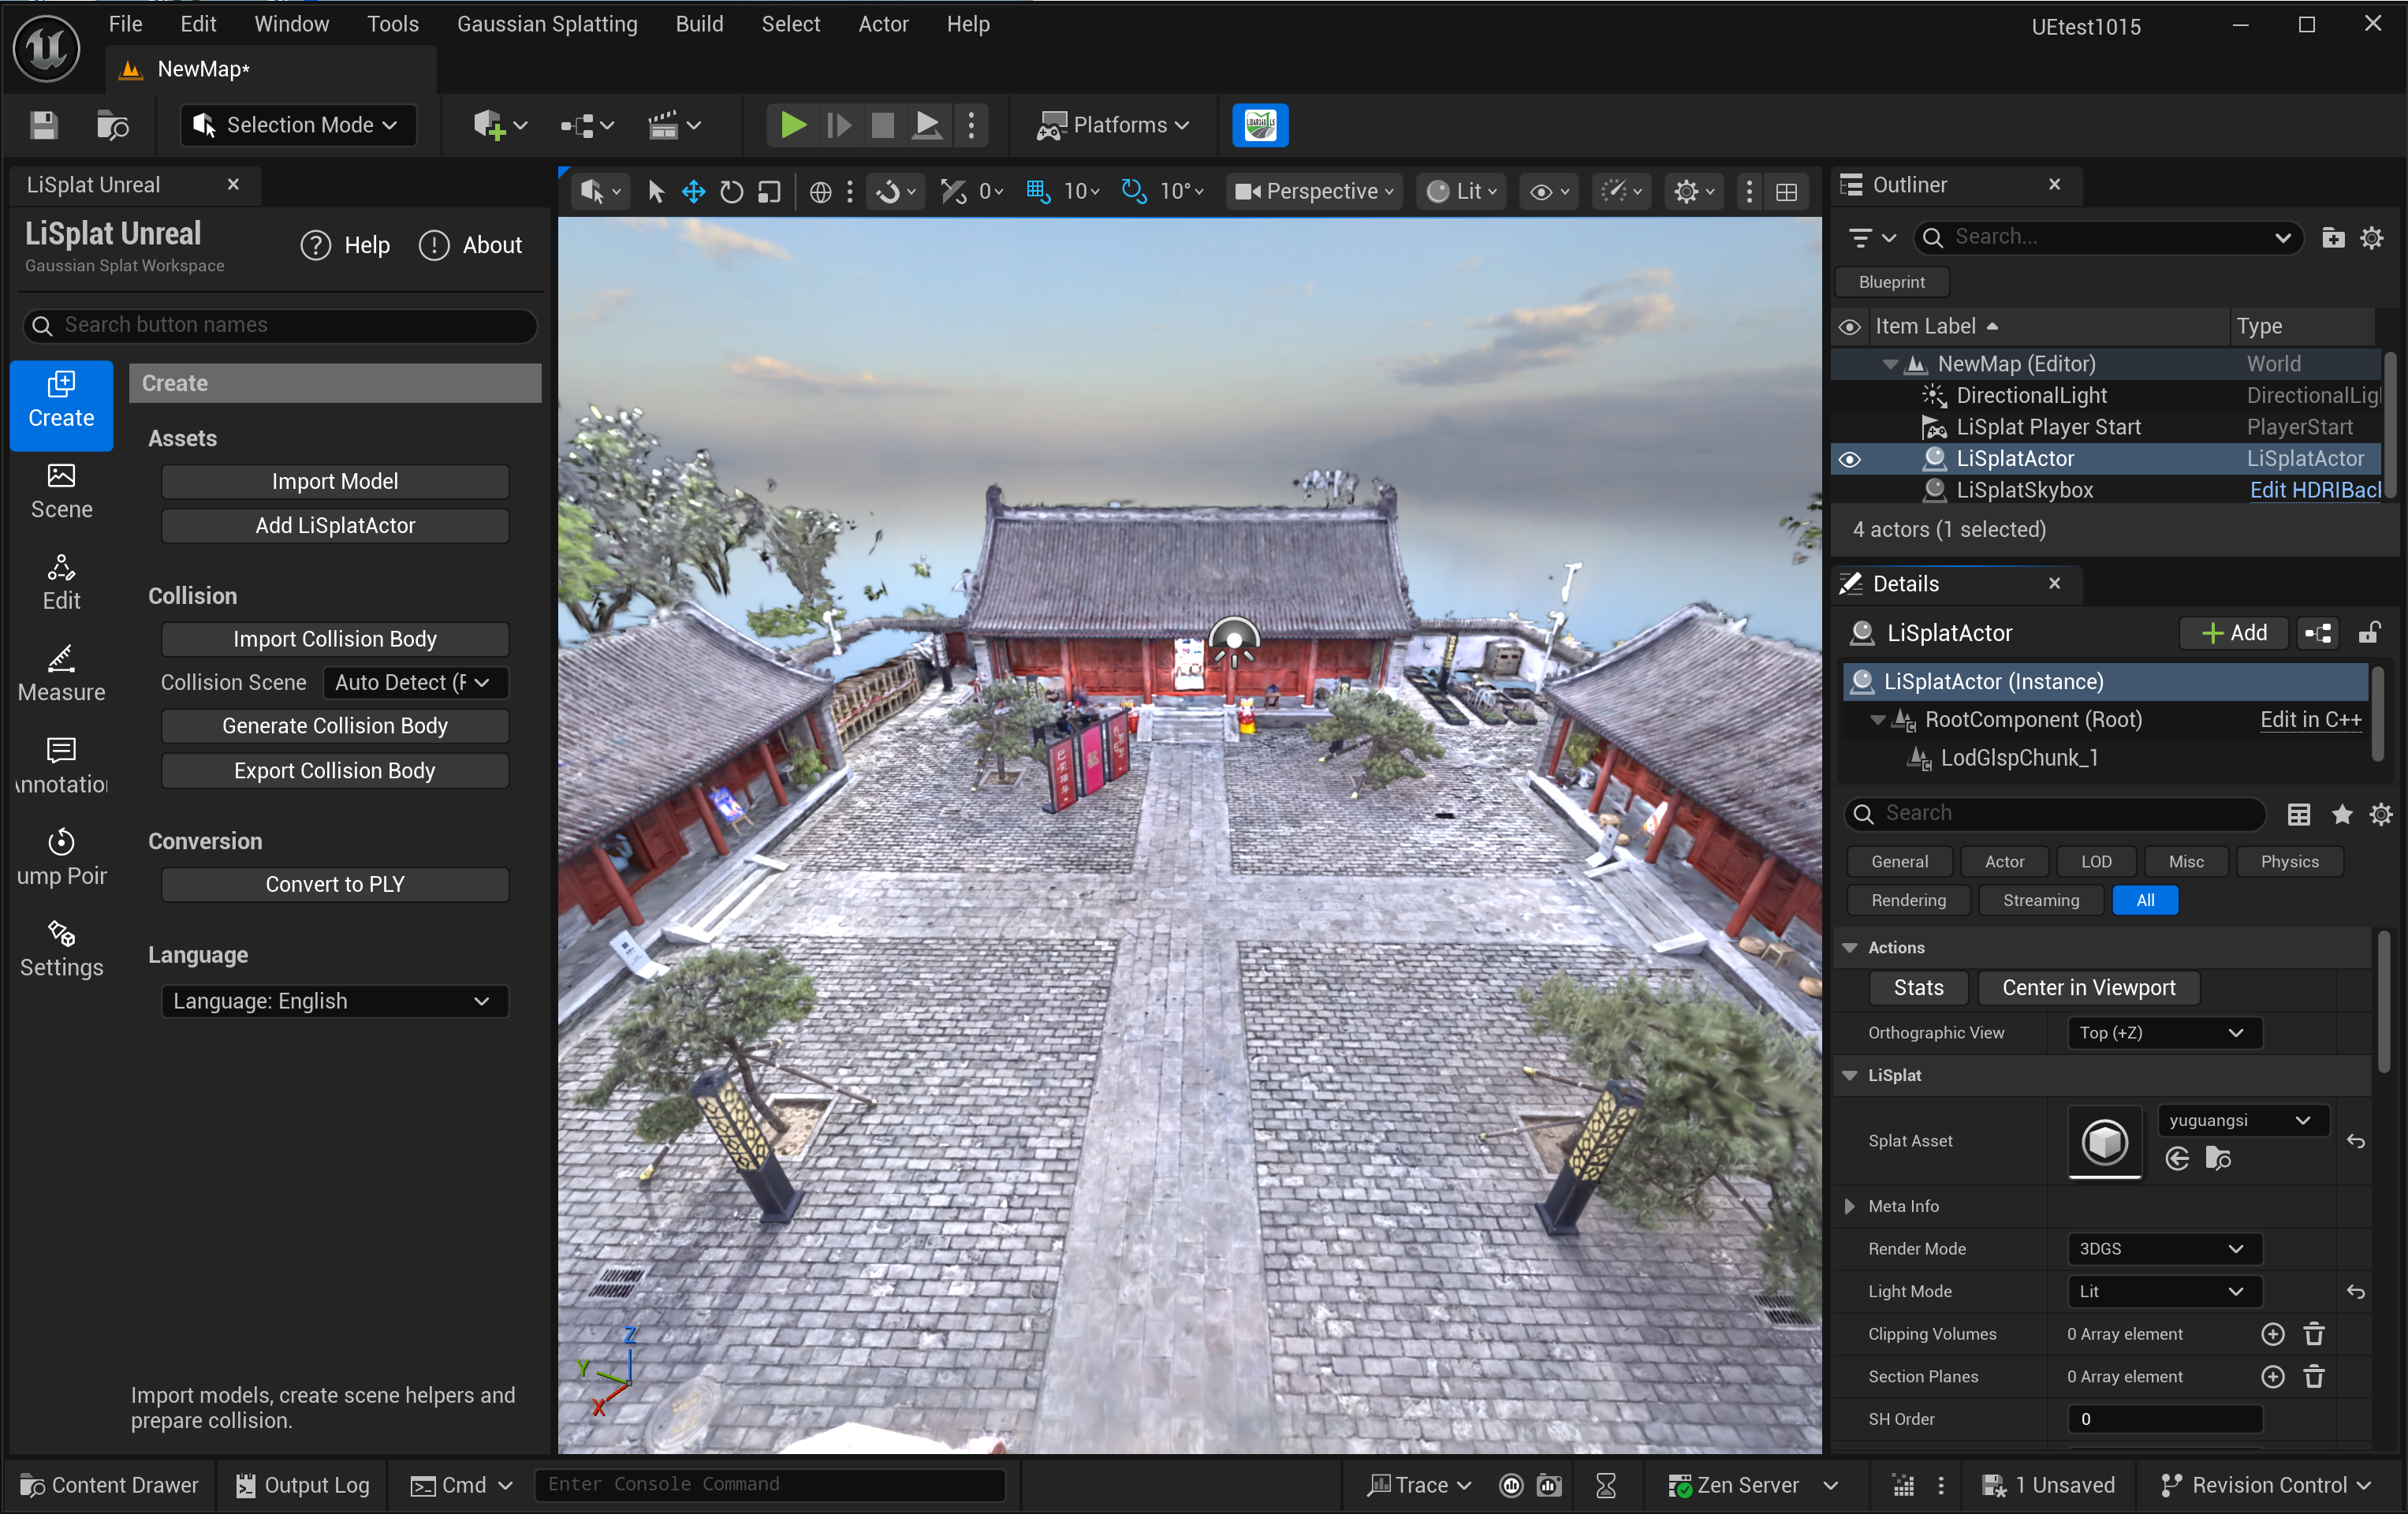 Figure: 3DGS rendering
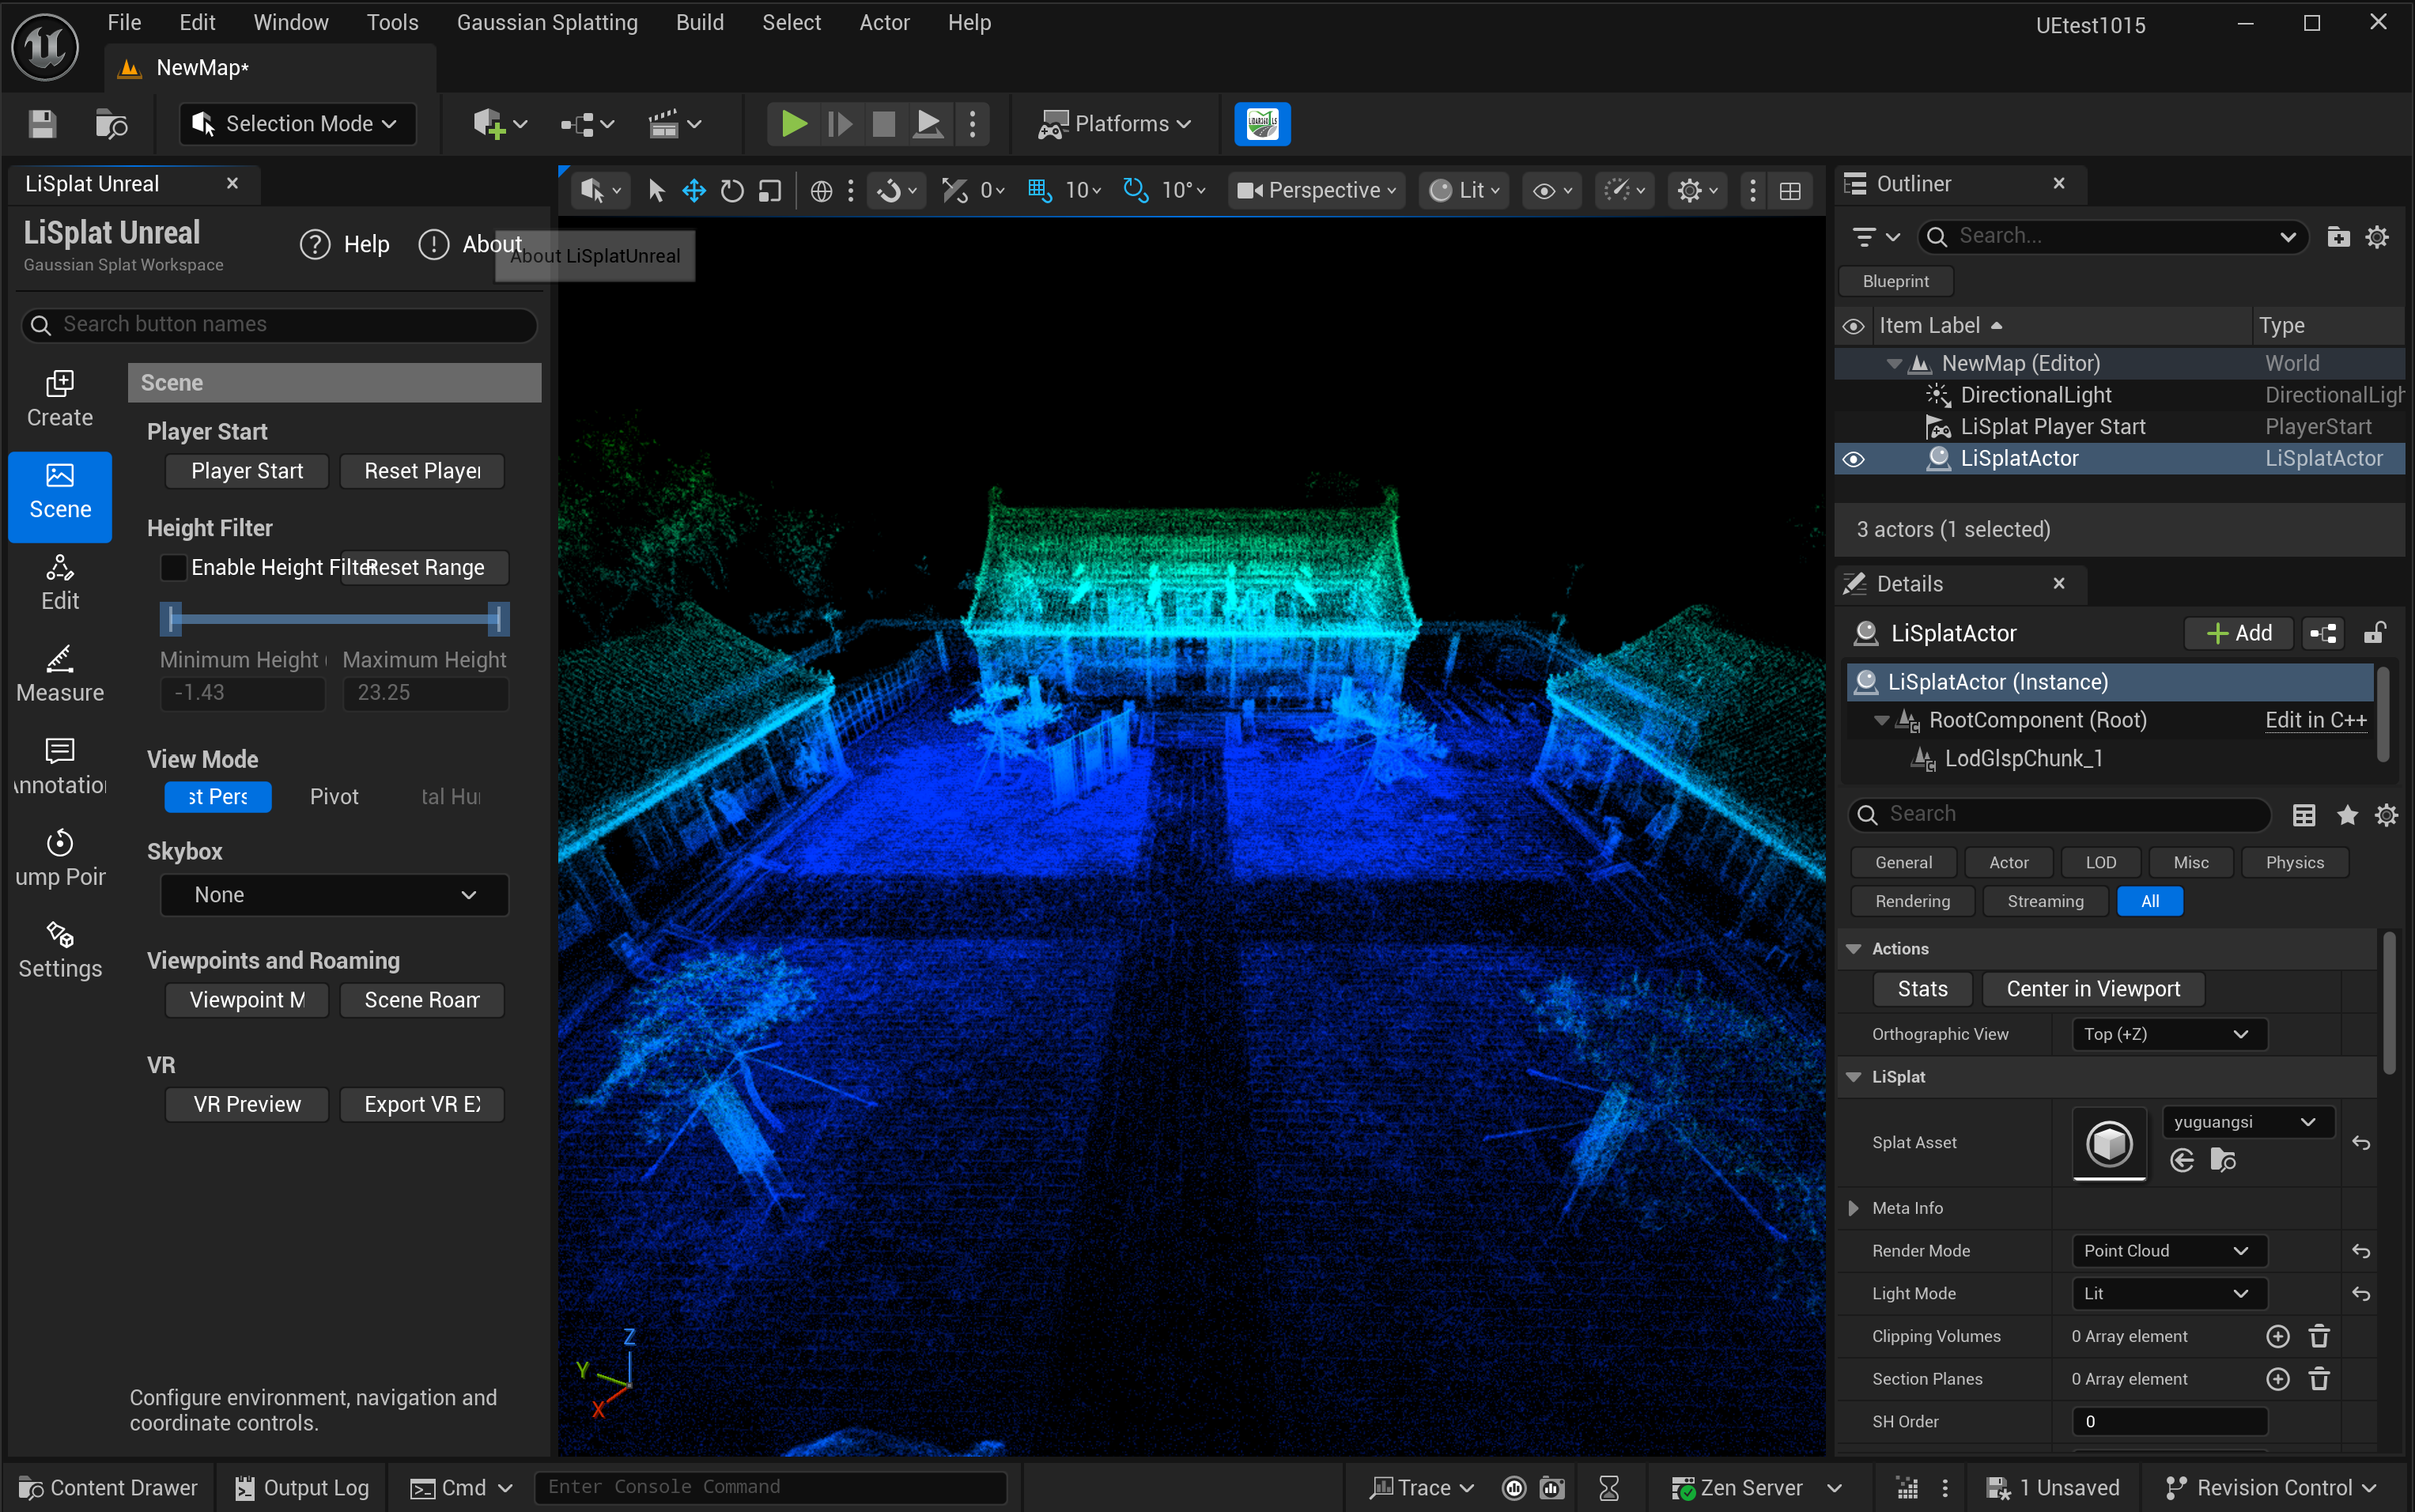 Figure: Point Cloud rendering
Light Mode
Light Mode provides two options:
| Mode | Description |
|---|---|
| UnLit | Displays the data's original colors without scene lighting; useful for checking the original appearance |
| Lit | Includes scene lighting. Add light Actors, then adjust lighting and normal settings as needed |
To start using Lit, add a Directional Light or another suitable light. Adjust its intensity and direction, then adjust Lighting Scale as described below.
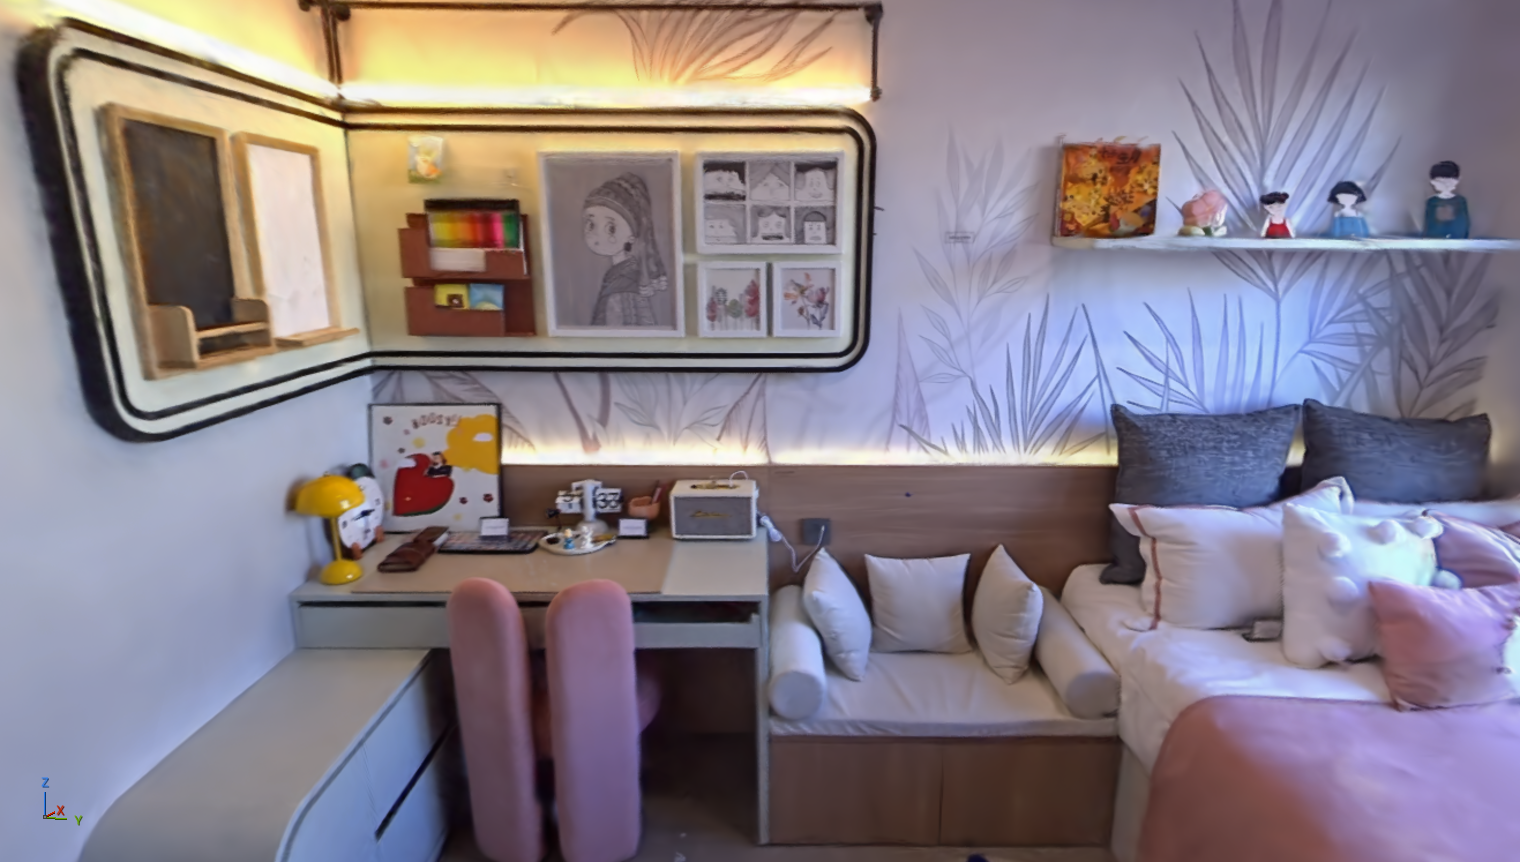 Figure: UnLit appearance
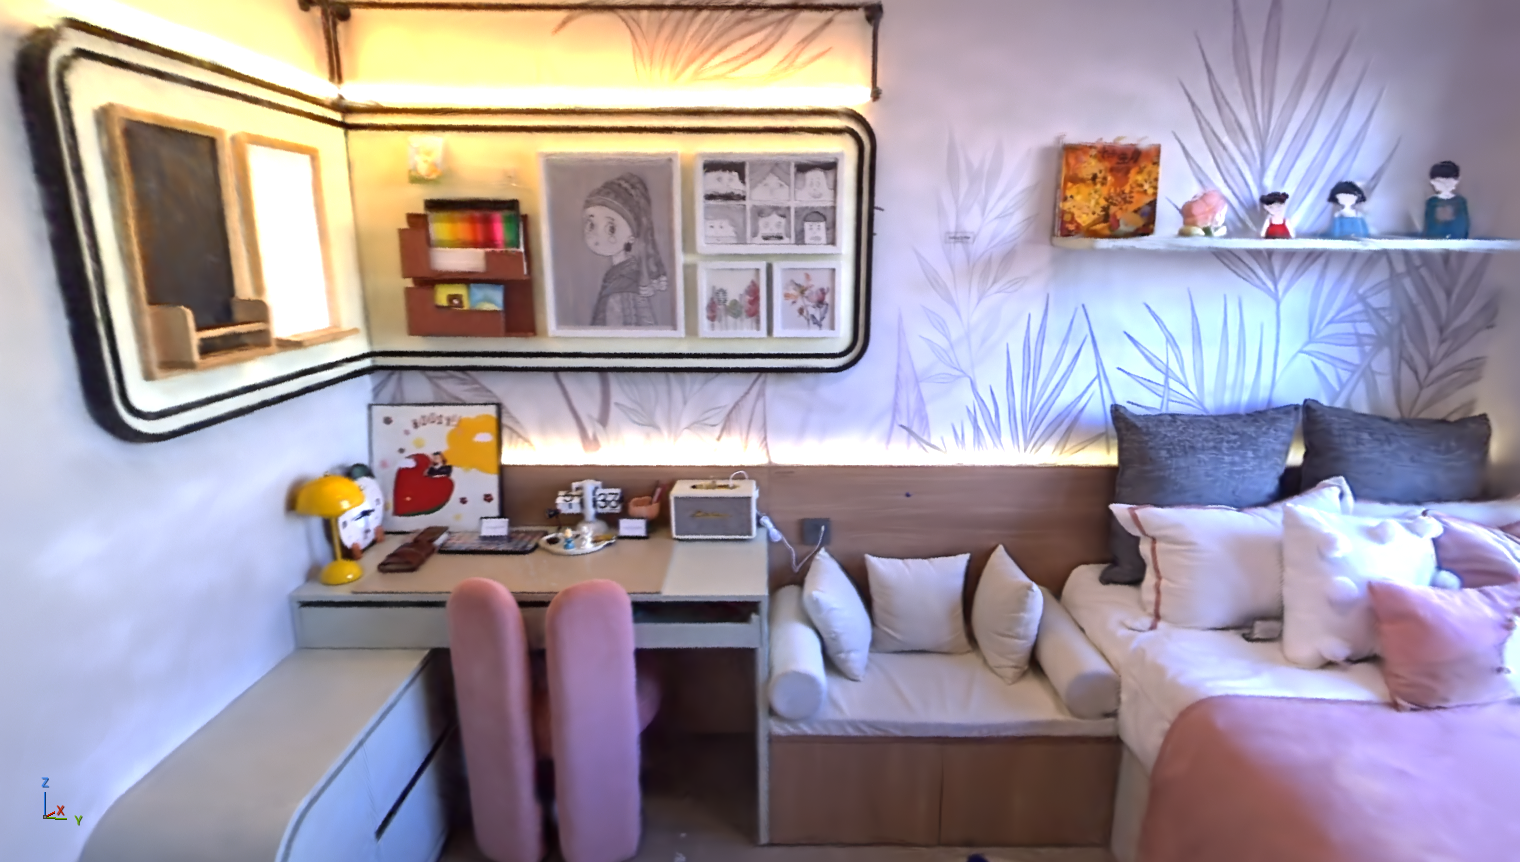 Figure: Lit appearance
Color Adjustment
In Color Adjustment, Replace Tonemap is enabled by default. When it is disabled, use Tonemap Scale to adjust overall brightness. Start with the default and make small changes while checking the image.
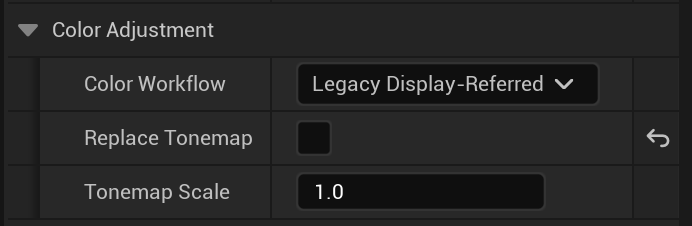 Figure: Color Adjustment
Opacity Scale and Splat Scale
| Parameter | Default and range | Usage |
|---|---|---|
| Opacity Scale | 1; 0–2 | Adjusts Gaussian opacity. Lower values are more transparent; higher values are more opaque. Start with small changes around 1 |
| Splat Scale | 1; 0.1–10 | Adjusts the displayed size of Gaussians. Increasing it can cover gaps, but excessive values thicken edges and blur details |
| SH Order | 0–3 | Adjusts view-dependent color appearance; normally keep the default |
Auto Adjust Anti-Aliasing
Auto Adjust Anti Aliasing is enabled by default. It automatically selects an anti-aliasing setting for the current display mode to reduce jagged edges and flicker. Disable it if you need to manage anti-aliasing in your project.
Mip Filter
Mip Filter is enabled by default. It improves the appearance of small or distant Gaussians at different display scales and reduces fine shimmering. Toggle it at the same camera position to compare building edges, thin lines and distant details.
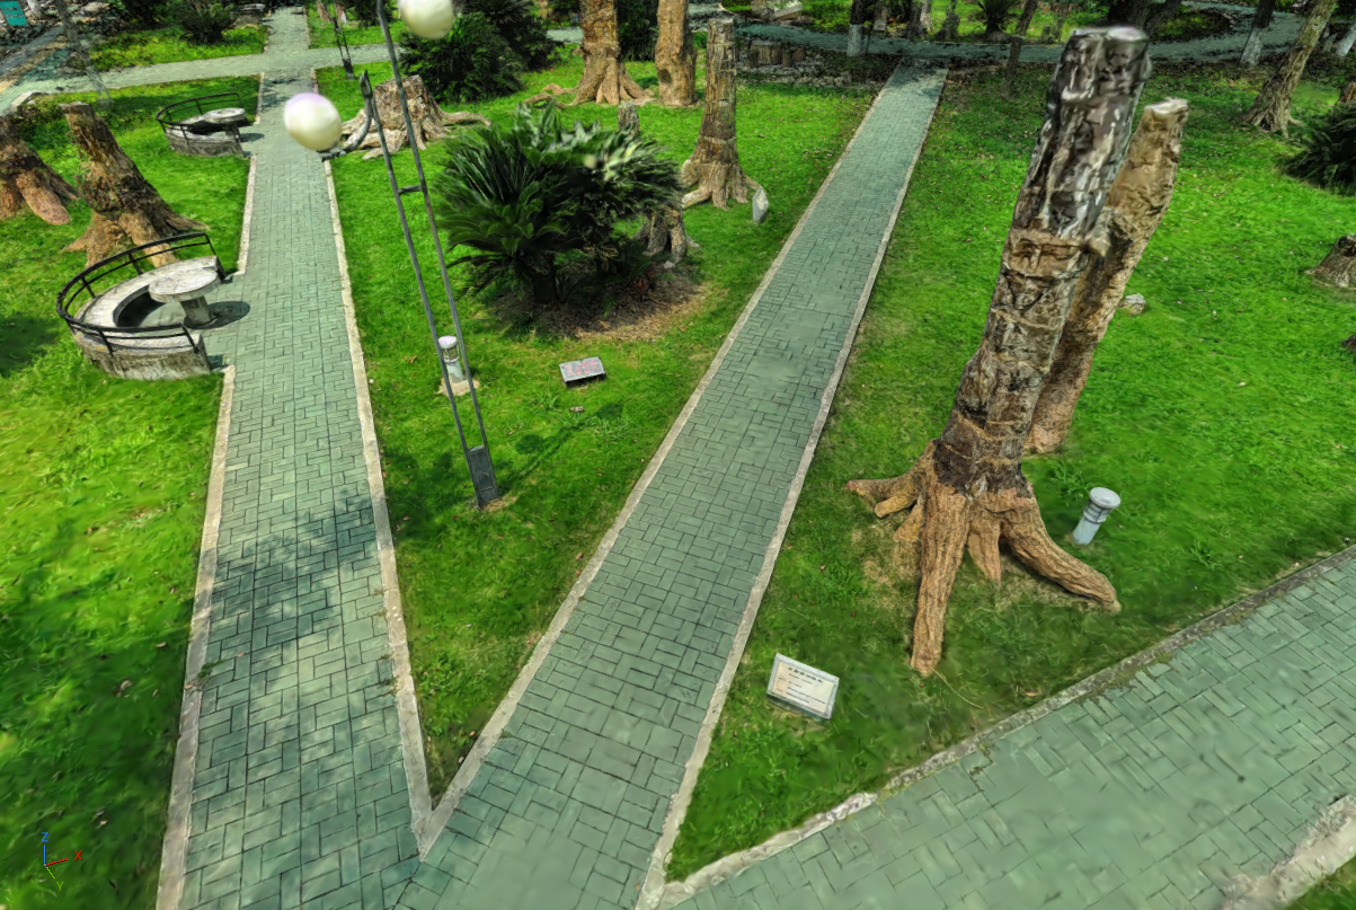 Figure: Mip Filter enabled
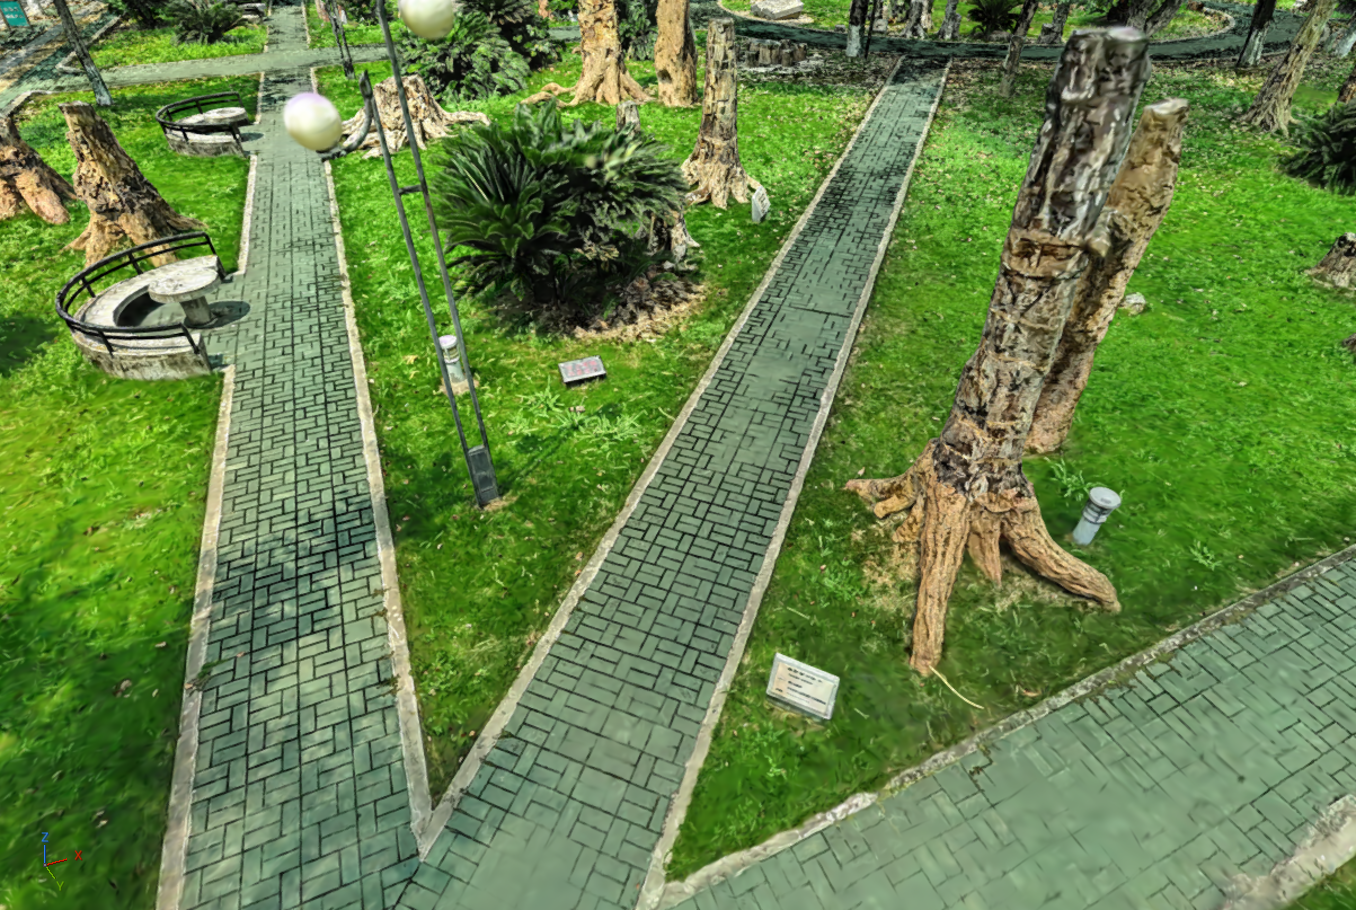 Figure: Mip Filter disabled
Alpha Threshold
Alpha Threshold adjusts the appearance of lighting and occlusion at edges. Keep the default of 0.5 initially; make small changes if the edges need improvement.
Color Workflow
Color Workflow provides Legacy Display-Referred, UE Working Color Space and UE Working Color Space 2. Keep the default initially. If matching the project's color management, compare the options under the same exposure and lighting before selecting one.
Lighting
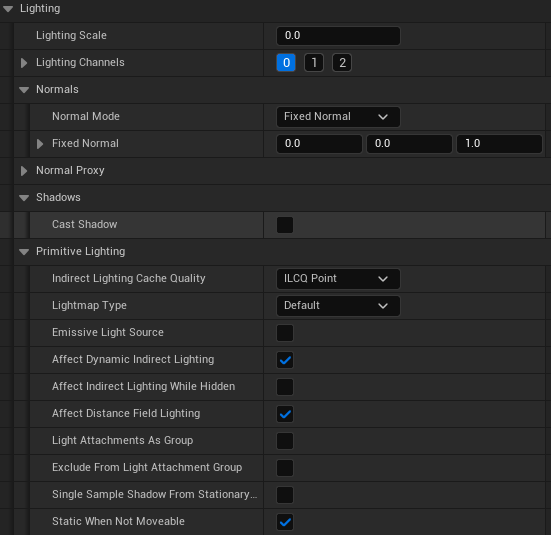 Figure: Lighting settings
Lighting Scale
Lighting Scale ranges from 0 to 1 and defaults to 0. At 0, UE scene lighting drives the result; moving toward 1 retains more of the original 3DGS brightness. If Lit mode is too dark, check the lights before changing this value.
Lighting Channels
Lighting Channels match lights to LiSplat objects. A light must share a channel with an object to affect it. Keep the default channel for ordinary scenes. Configure matching channels on both the light and object when a light should affect only selected objects.
Normals
Normal settings affect lighting. Select a mode under Normals → Normal Mode:
| Mode | Usage |
|---|---|
| Fixed Normal | Uses a fixed direction; start with the default |
| View Facing | Adapts the lighting appearance to the view; fine-tune with Approx Normal Spread |
| Hemispherical | Uses a hemispherical directional effect; adjust Normal Pole and Normal Hemi Spread |
| Proxy Mesh | Assign a static mesh below when a mesh matching the Gaussian scene is available |
Normal Proxy
After choosing Proxy Mesh mode, assign a static mesh aligned with the Gaussian scene under Normal Proxy. Normally leave Forced LOD Model on automatic selection.
Shadows
Assign a proxy mesh aligned with the scene under Normal Proxy, then enable Cast Shadow. The scene also needs a light that can cast shadows. Check the result on floors and walls.
Primitive Lighting
Primitive Lighting provides additional UE lighting options. Defaults are suitable for general use. Adjust indirect lighting and lightmap options only when needed for the project's lighting setup.
Point Cloud
Set Render Mode to Point Cloud, then expand Point Cloud.
Point Cloud Opacity
Point Cloud Opacity defaults to 0.2 and ranges from 0 to 1. Lower values are more transparent; higher values are more opaque, helping you inspect point distribution and overlapping areas.
Elevation Coloring
Use Elevation Color Bottom and Elevation Color Top for lower and higher elevations. Enter colors directly or use the color picker. Intermediate elevations use a gradient calculated along the data's local Z direction. After rotating the Actor, check which direction the colors represent.
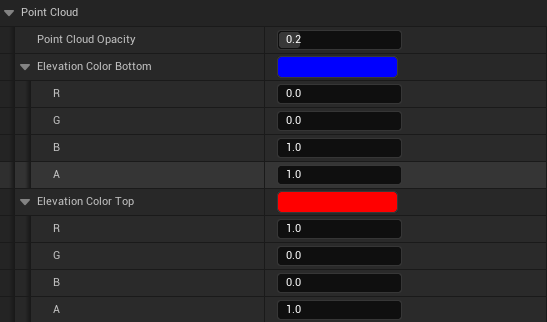 Figure: Point cloud elevation colors and opacity