
Project Configuration
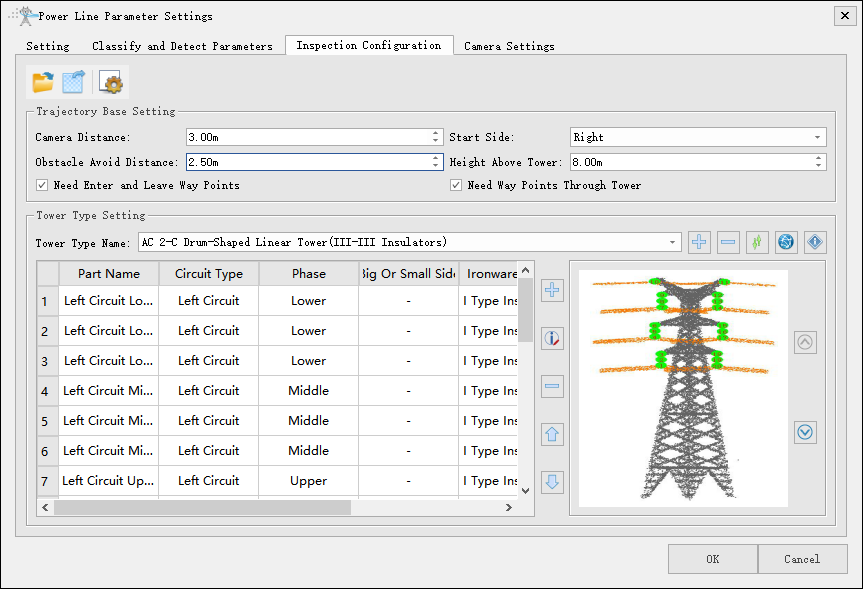
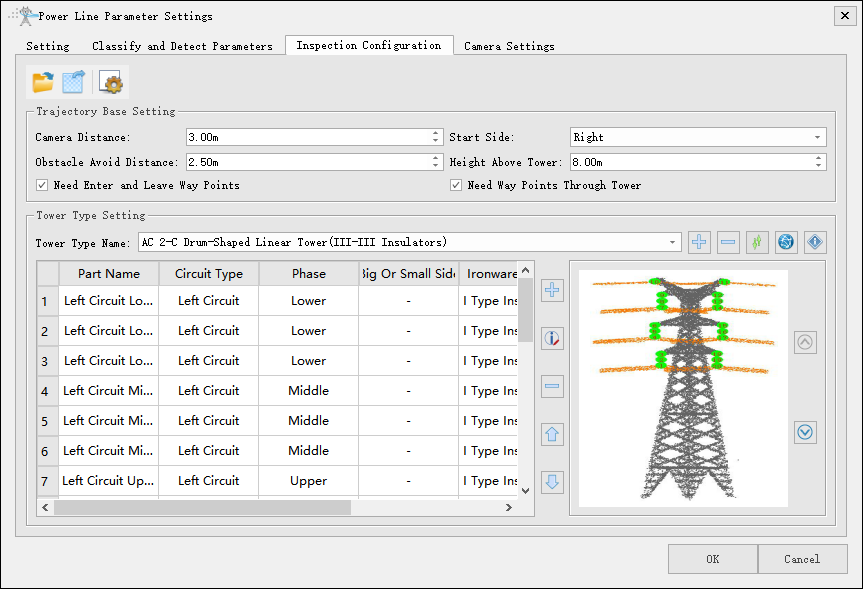
Project configuration is the first step in trajectory planning. Trajectory planning can only be carried out after the configuration parameters and the various tower part points are determined. Click Project Configuration -> Inspection Configuration, as shown in the following figure.
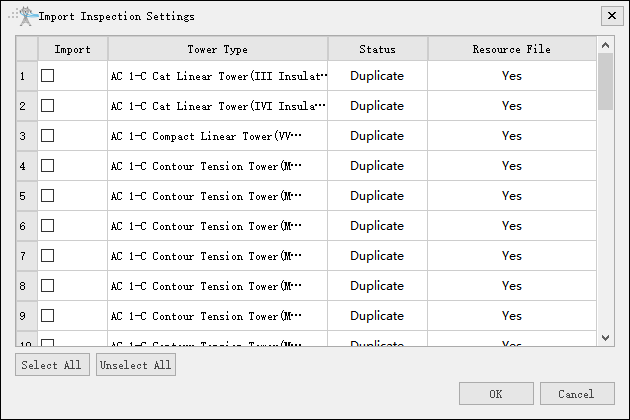
Import Settings

Import the tower type configuration, supporting csv and icp formats. When importing icp, you can select the import range.
Export Settings

Export the tower type configuration, supporting csv and icp formats.
Reset

Reset the tower type configuration.
Trajectory Base Setting
- Camera Distance: The distance from the waypoint to the tower part point.
- Obstacle Avoid Distance: The minimum safe distance between the trajectory and obstacle point cloud.
- Need Enter and Leave Way Points: Check if you need the entry point and exit point. The entry point and exit point will be slightly higher than the top of the tower, located on the left and right of the tower.
- Start Side: It is mainly divided into the right side of the line and the left side of the line, which is the take-off side of the UAV.
- Height Above Tower: The height of the UAV from the top of the tower.
- Need Way Points Through Tower: Check if the tower point is needed.
Tower Type Setting
The software has built-in 43 tower type trajectory configuration lists, each configuration has defined part point names and parameters, which can be selected according to the tower type. The 43 tower types are shown below.
1.AC 2-C Drum-Shaped Linear Tower(III-III Insulators)
2.AC 2-C Drum-Shaped Linear Tower(VIV-VIV Insulators)
3.AC 2-C Drum-Shaped Linear Tower(VVV-VVV Insulators)
4.AC 2-C Drum-Shaped Tension Tower(J-L0R1)
5.AC 2-C Drum-Shaped Tension Tower(J-L0R2)
6.AC 2-C Drum-Shaped Tension Tower(J-L1R0)
7.AC 2-C Drum-Shaped Tension Tower(J-L1R1)
8.AC 2-C Drum-Shaped Tension Tower(J-L2R0)
9.AC 2-C Drum-Shaped Tension Tower(None Jumper)
10.AC 4-C Linear Tower
11.AC 4-C Steel Tube Linear Tower
12.AC 4-C Tension Tower(J-L0R1)
13.AC 4-C Tension Tower(J-L0R2)
14.AC 4-C Tension Tower(J-L1R0)
15.AC 4-C Tension Tower(J-L1R1)
16.AC 4-C Tension Tower(J-L2R0)
17.AC 4-C Tension Tower(None Jumper)
18.AC 1-C Cat Linear Tower(III Insulators)
19.AC 1-C Cat Linear Tower(IVI Insulators)
20.AC 1-C Compact Linear Tower(VVV Insulators)
21.AC 1-C Contour Tension Tower(MPL-J-L0M1R0)
22.AC 1-C Contour Tension Tower(MPL-J-L0M2R0)
23.AC 1-C Contour Tension Tower(MPL-J-L0M2R1)
24.AC 1-C Contour Tension Tower(MPL-J-L0M2R2)
25.AC 1-C Contour Tension Tower(MPL-J-L1M2R1)
26.AC 1-C Contour Tension Tower(MPR-J-L0M1R0)
27.AC 1-C Contour Tension Tower(MPR-J-L0M2R0)
28.AC 1-C Contour Tension Tower(MPR-J-L1M2R0)
29.AC 1-C Contour Tension Tower(MPR-J-L1M2R1)
30.AC 1-C Contour Tension Tower(MPR-J-L2M2R0)
31.AC 1-C Gantry-Shaped Guyed Linear Tower(III Insulators)
32.AC 1-C Gantry-Shaped Guyed Linear Tower(IVI Insulators)
33.AC 1-C Shang-Shaped Linear Tower(MPL)
34.AC 1-C Shang-Shaped Linear Tower(MPR)
35.AC 1-C V-Shaped Guyed Linear Tower(III Insulators)
36.AC 1-C V-Shaped Guyed Linear Tower(IVI Insulators)
37.AC 1-C Wine Cup Linear Tower(III Insulators)
38.AC 1-C Wine Cup Linear Tower(IVI Insulators)
39.AC 1-C Wine Cup Linear Tower(VVV Insulators)
40.AC 1-C Wine Cup Tension Tower(J-L1M1R1)
41.DC 1-C T-Shaped Linear Tower(II Insulators)
42.DC 1-C T-Shaped Linear Tower(VV Insulators)
43.DC 1-C T-Shaped Tension Tower(J-L1R1) 
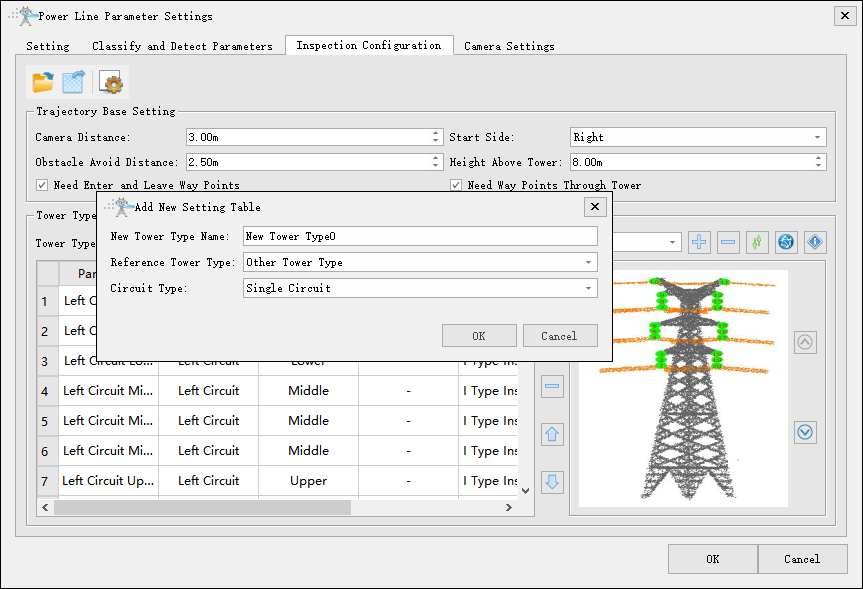
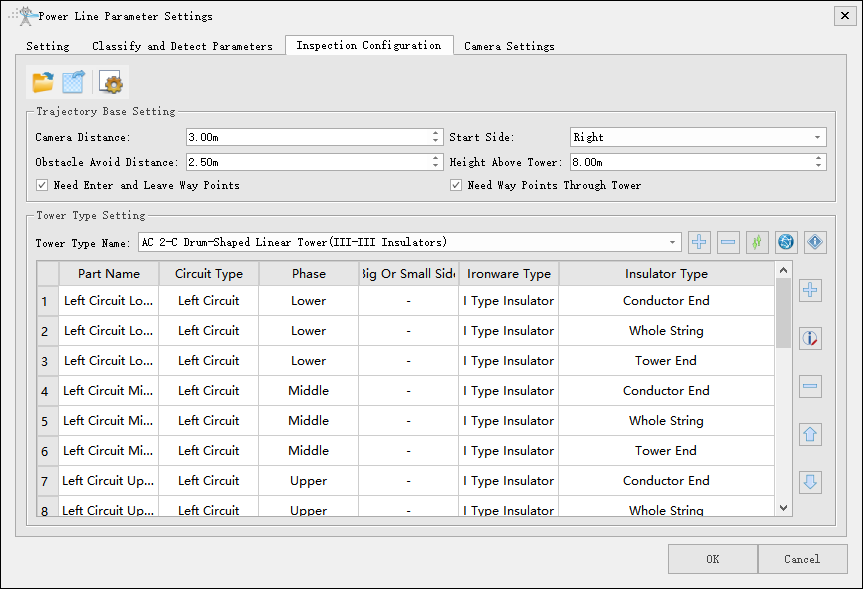


- Add New Setting Table: If you do not find the configuration table of the tower type you need, you can click the plus sign on the right to customize and add a new tower configuration table, as shown below.
- Delete Tower Type Setting: Click the minus button to delete the tower type configuration.
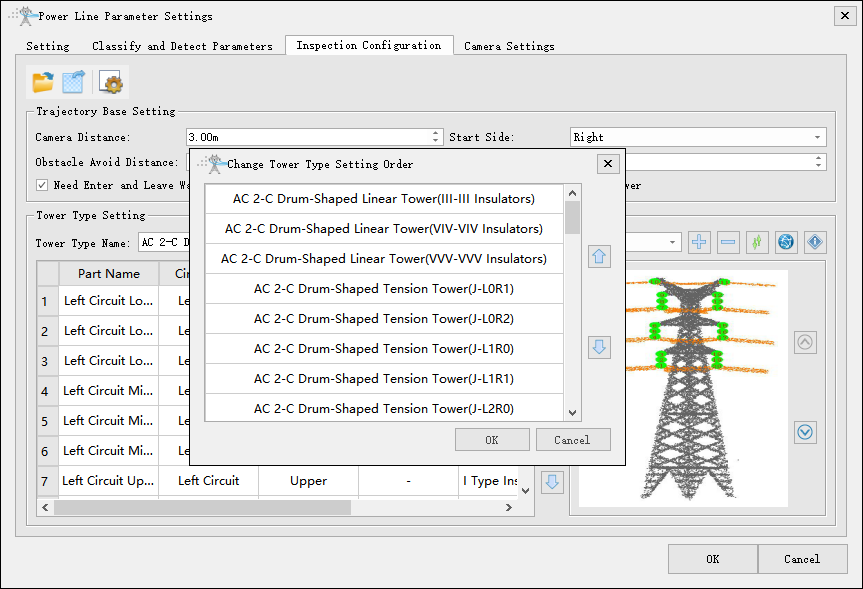
- Change Tower Type Setting Order: Click the green arrow button to change the configuration order of the tower types.
- Preview: Preview tower type image,
 and
 flip through images forward and backward.
- Part Name List Editing: The control buttons on the right side provide comprehensive part point management capabilities: the plus sign enables adding new part points, the modify button allows editing existing points, and the minus sign facilitates point deletion. Additionally, the up and down arrows enable users to adjust the sequential order of the part points as needed.
- Add Part Point: Add a new part point.
- Delete Part Point: Delete the selected part point.
- Modify Part Point: Can adjust the name, phase sequence, big/small side, hardware type, and insulator type of the part point.
- Move Up: Move the selected part point up (requires continuous selection) to adjust the order of part points.
- Move Down: Move the selected part point down (requires continuous selection) to adjust the order of part points.
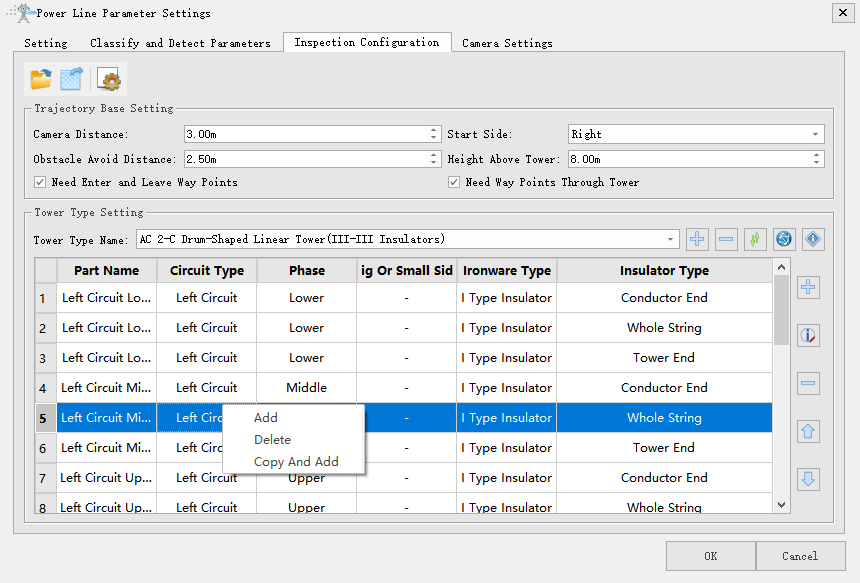
- Right Click: Can add, delete, copy and add part points.
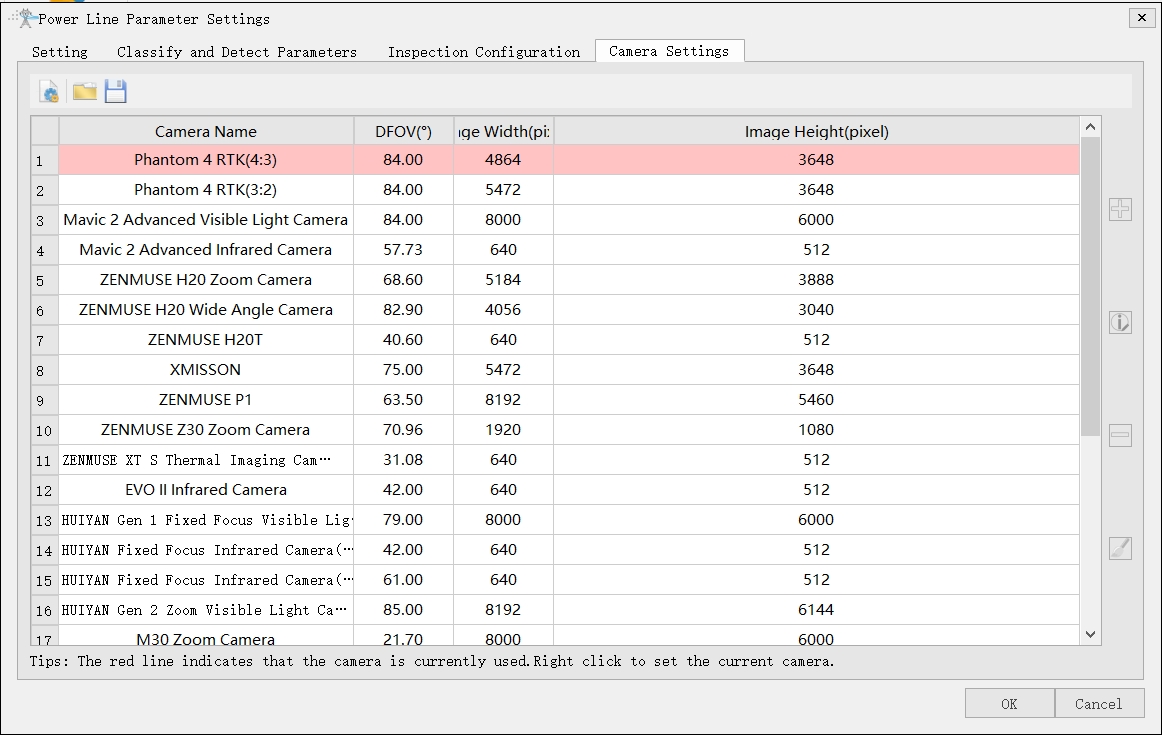
Camera Settings
Multiple types of UAV gimbal cameras are provided by default in the camera settings. The red row indicates the currently used camera, and the right-click button can be used to set the current camera.
Load default settings.
Open the camera configuration file.
Save the camera configuration file.