
Manual Classification
Summary

Most of the tools provided by the profile window are integrated on the toolbar. These tools can be used for manual classification.
Steps
Click
to set From Class and To Class.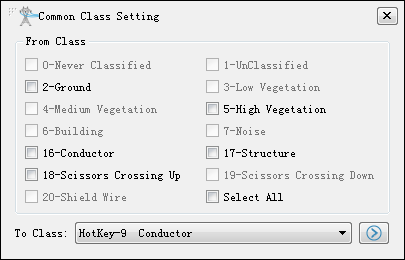
Points to be classified only come from ticked From Class. For example, if users merely want to classify ground points from unclassified points, they can only tick Unclassified in From Class. And all selected unclassified points will turn into ground points.
**(Optional)**Users can set sequence of drop-down menu in different scene. Go to main menu Display->Class Setting Options to change class priority list.
By default, the classes are arranged in the LAS white paper. Users can also select a class and click the button on the right side of the interface to adjust the order: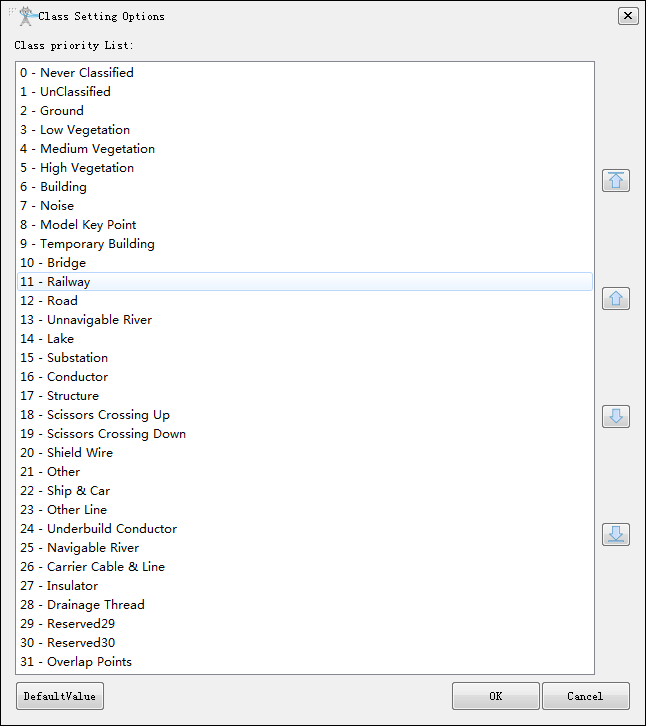
 Up
 Down
 Top
 Bottom
Users can also double click the class and rename it(Not including specific classes 0-8).
Choose a suitable selection tool and classify manually:
 Polygon: Suitable for random polygon or complex concave polygon. For example, a tree or a building. Use Parity Rule to check if the feature is selected.
 Rectangle: Suitable for features with simple shapes. Compared to polygon selection, the edges of a rectangular selection can only be parallel to the corresponding edges of the window.
 Circle: Circle selection is convenient for some circumstances. For example, a circle pool.
 Above Polyline: Point clouds above the polyline will be selected.
 Below Polyline: Point clouds below the polyline will be selected.
**(Optional)**Press hot key Ctrl+Z to undo last operation. Or click
 to clear all temporary operation.
After all class modifications are done, click
 to save the modification.
Note: After the algorithm automatically classifies, manual inspection is required to ensure accuracy.
Note: All operations related to point cloud classification are temporary and must be saved before they can take effect.